POS Printer Problems
Nothing prints
- In Retail or Restaurant, try Print Last Slip. If this works but sales do not print automatically, check General settings and reopen the POS app after changing automatic printing.
- In Windows printer settings, open the intended printer's properties and print a test page. Check its power, connection, paper and print queue if the test fails.
- Check the exact form's Allocated Printer in Settings > Printing. A customer receipt or intermediate bill can have a different allocation from an ordinary receipt.
- For kitchen or other department orders, check Department Printers instead.
- If using Local Default Printer, confirm that Windows uses the intended printer as its default on this computer.
- Open the form's designer and Preview it. Check that it contains the required items, then Save any design changes you want actual transactions to use.
ROBOTILL tries to use an old printer
If the error says that the settings for an old printer are not valid, check the allocation for the exact document producing the error. Update department allocations too if they use the replaced printer. Close and reopen the POS apps after changing allocations.
A printer selected for a one-off Test print does not change the saved allocation. Change Allocated Printer in Printing settings when replacing a printer.
Printing works on one computer only
Check that the printer is installed or accessible on the other computer. Specifically allocated printer names must match the saved allocation. Local Default Printer uses each computer's own Windows default. See Printing from multiple computers.
The layout is incorrect or clipped
- Open the correct form's designer and click Preview. The designer canvas shows placeholders; Preview shows sample printed content.
- Check the width and page height in Paper for this form. Use a matching 80 mm or 58 mm template if you want to start again, or adjust your current draft. Applying a template replaces that draft; Undo restores it.
- Check item X positions and column widths. Items extending beyond the paper width can be clipped. For individual table columns, use matching row heights and leave enough height for long descriptions.
- Check fixed items and long text for overlaps. Ordinary text does not automatically move later items down. Fixed Y is not an automatic repeating footer.
- Use Test print on the intended printer. Check its driver paper size and printable area. Matching the nominal roll width alone does not guarantee that every position is printable.
- Save the draft when it is correct. Preview and Test print do not save the design for real transactions.
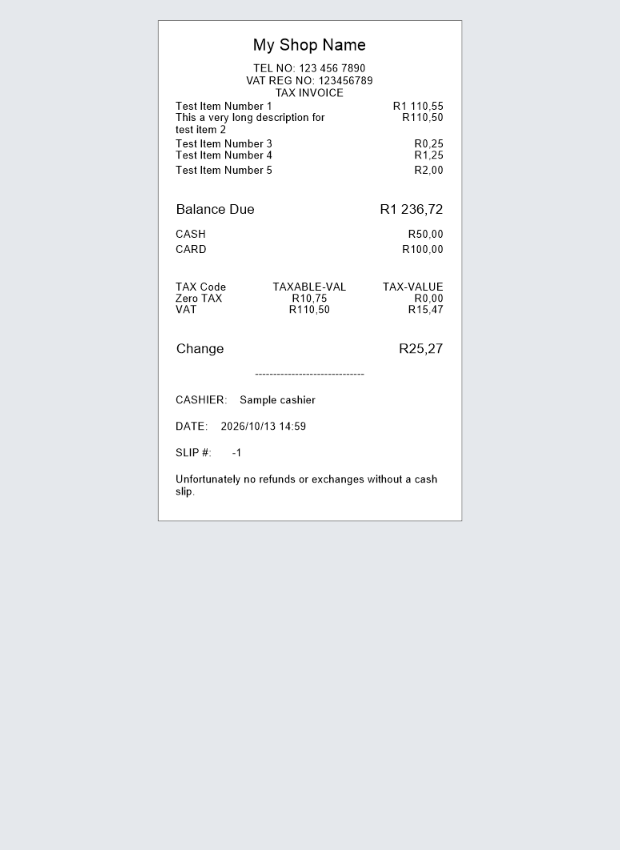 Use Preview before changing a saved design. Test print checks the draft on the chosen printer.
Compare with PDF output
If available, choose Microsoft Print to PDF for a Test print, using the same draft and paper size. If the PDF looks correct but paper output does not, compare the physical printer's driver settings, supported media and printable area. If both are incorrect, review the layout and dimensions first. Preview uses sample data, so also check a real transaction when the issue depends on its descriptions or number of rows.
Unexpected page breaks or long blank receipts
The supplied roll templates use automatic receipt length up to Page / maximum roll height (mm). Longer content continues onto another page. Check that the driver supports the chosen roll size and that the maximum height is appropriate for your receipts.
For A4 or other cut sheets, clear Continuous / roll paper and use the actual page dimensions. Set a suitable continuation top margin. A Fixed Y item is printed at its first-page position rather than repeated on every page.
Existing designs keep their previous paper behaviour. You do not have to replace them; applying a supplied template is an optional way to start a new roll layout. Move or remove items placed far below the intended receipt content, and use Preview to check the result before saving.
A logo or image is missing
Open Images... in the designer and check that the named image exists in the library. Select the Graphic item and use Choose image... to assign it, then check its position and dimensions. Preview the draft and Save the design.
The application's system logo in Display Settings is separate from printed graphics. To print a logo, save it in the print-image library and add a Graphic item. See Images and logos.