POS Payment Options
ROBOTILL allows you to accept multiple payments per sale.
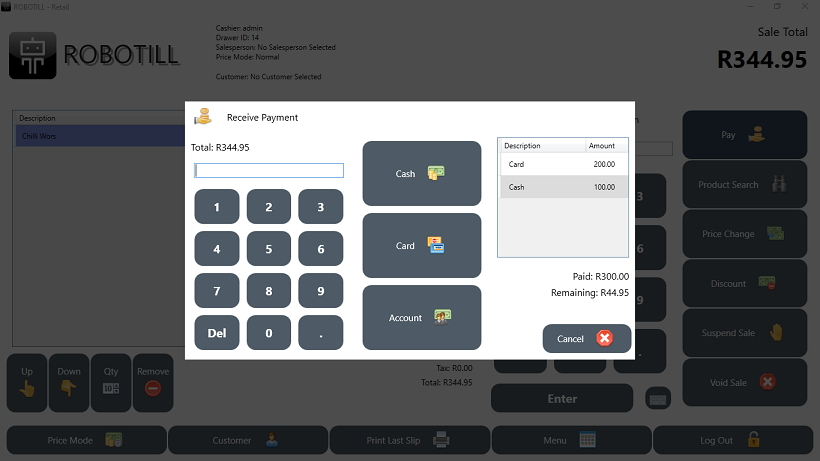
As soon as the required amount was reached, the payment screen will close. For most payments it will only be needed to enter
the amount and press enter or simply just press enter as the default amount is the amount of the sale.
Payment options can be configured and custom payment options can be added.
Card Payments
ROBOTILL supports the following card payment processing options:
1)
Manual card processing
- any type of card payment machine that can directly process a payment.
2)
Vexen Card Machines
- South Africa
Account Payments
For more information on how account payments work and how to use customer cards, see
Customers and Accounts.
Additional Payment Options
Please Note: The video uses an older version of ROBOTILL but you will still get the idea of what you need to do.
ROBOTILL allows you to add two optional custom payment methods.
By default one is set up as a check payment but this can be changed or removed.
To set up or remove the customer payment options, go to ROBOTILL Back Office > Home > Set Up and Settings > Settings. Select 'Payment Options'.
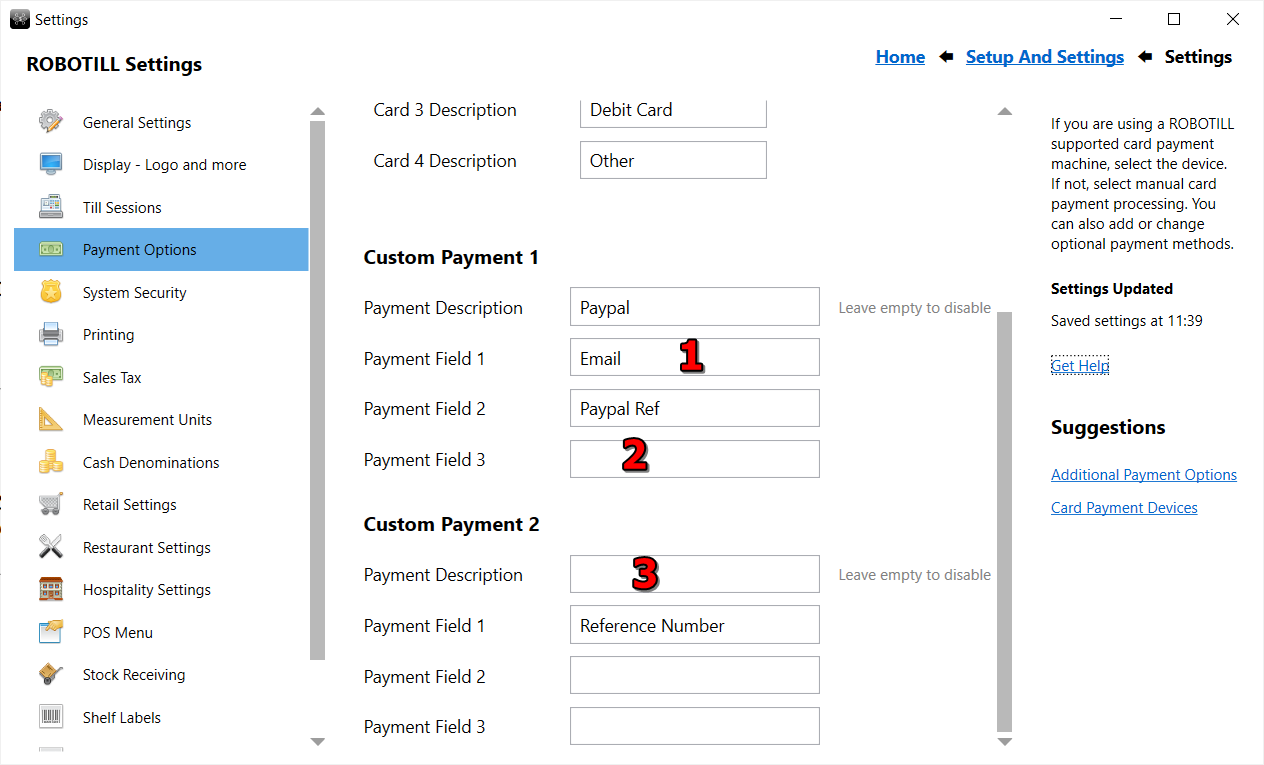
- Enter a description (name) and the fields the cashier needs to enter for the custom payment option.
- If you don't want to use a field, leave it blank. The cashier will not be prompted to enter that field.
- If you don't want to use a payment option, leave the description blank (you can choose not to use option 1 above as well).
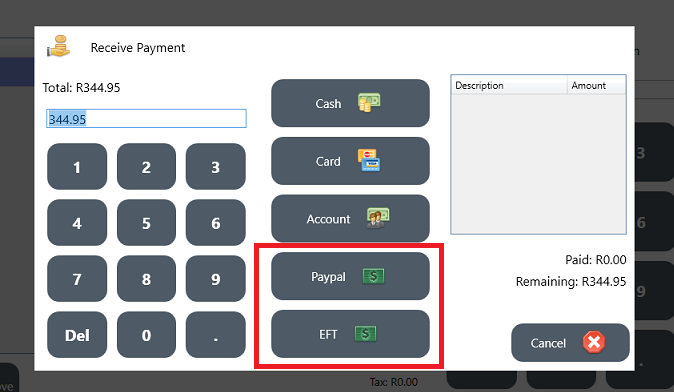
If enabled, new buttons for the custom payment methods will be added to the pay screen.
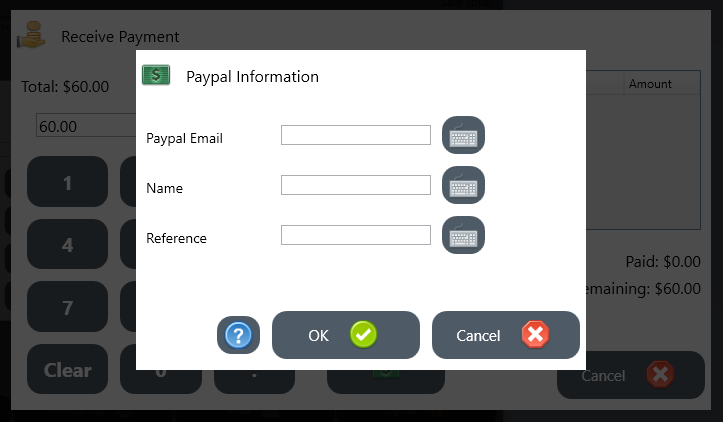
The cashier will be able to capture information about the payment. Only the selected fields for this payment method will be displayed in the capture screen.
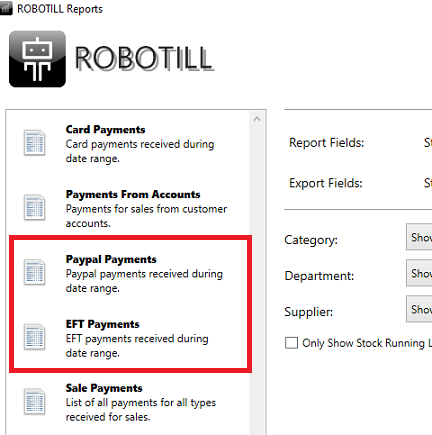
Reports will be added for the custom payment methods. If the custom options are disabled, the custom payment reports will not be shown in the list of reports.