Department Printers
Department printers receive order slips containing the items needed by that department. Examples include a restaurant kitchen, a bar, a take-away kitchen or a storeroom collection point.
Allocate a department printer
- Open Back Office > Home > Set Up and Settings > Departments.
- Select the department, click Edit and select Department Printers.
- Select an installed printer, or enter its full name in Network Printer Name.
- Click Allocate Printer.
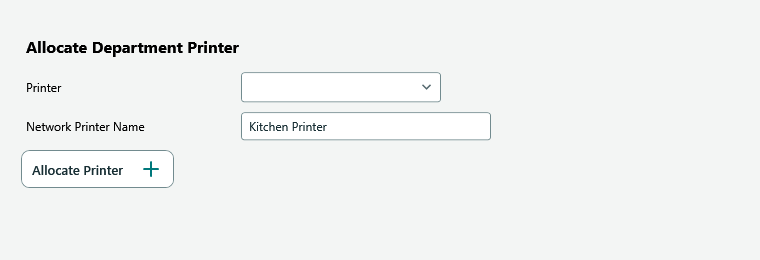 Example allocation: enter the exact Windows printer name and click Allocate Printer.
Allocation requires the Full Edition. The printer must be installed or accessible from every POS computer that sends orders, and its name must match the saved allocation. To change an existing allocation, use Remove Allocated Printer, then allocate the replacement. Reopen running POS apps after changing printer allocations.
Design the order slip
Open Settings > Printing, select Order Slip and open its designer. Choose an 80 mm or 58 mm template, or customise the layout for another size. Preview the draft and Save it when ready. The shared Order Slip design is used by department printers; each department receives its relevant items.
Changing an Order Slip design does not allocate a department printer. The printer allocation and layout are separate settings.
See Print Design and Receipt Templates for editing, Restaurant Order Slips for submitting restaurant orders, and Printer Problems for troubleshooting.