POS Menu Setup
The POS menu can be opened from the Menu button in all the POS Modules (Retail, Restaurant, Workshop).
The menu options can change depending on whether a sale is selected or not. The menu can also be customized.
To change the menu go to ROBOTILL Back Office > Home > Set Up and Settings > Settings. Select 'POS Menu'.
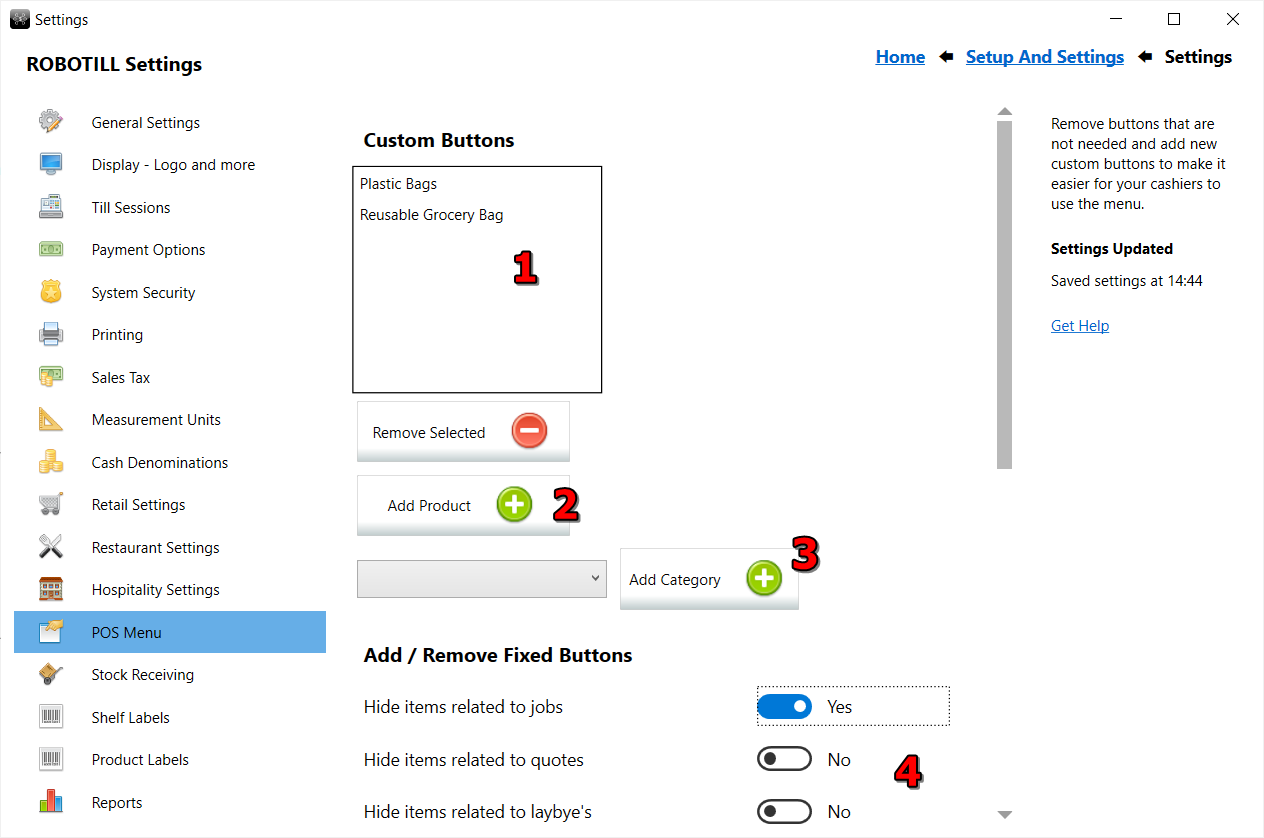
- You can add your own custom buttons to the POS menu.
- You can add a product as a button. The product description will be used for the button text. When the button is pressed in the POS menu the item will be added to the sale. It is useful for items that are often used and does not have a barcode that can be scanned.
- For a category button the category name will be used for the button text. If the button is pressed, all the items in that category will be displayed for selection.
- You can remove buttons that you do not use. With fewer buttons to choose from your cashiers will be able to select the correct ones faster.
How it will look at the till point
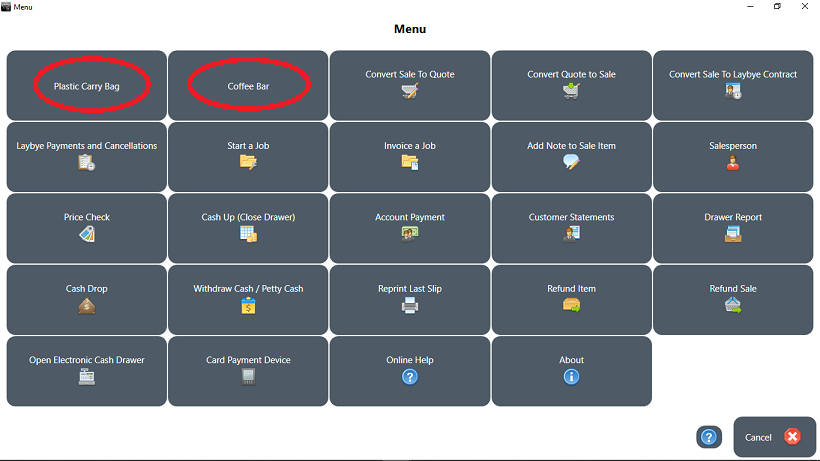
If a product button is pressed, the product will be added to the current sale. If a category button is pressed,
the product selection screen for that category will open.
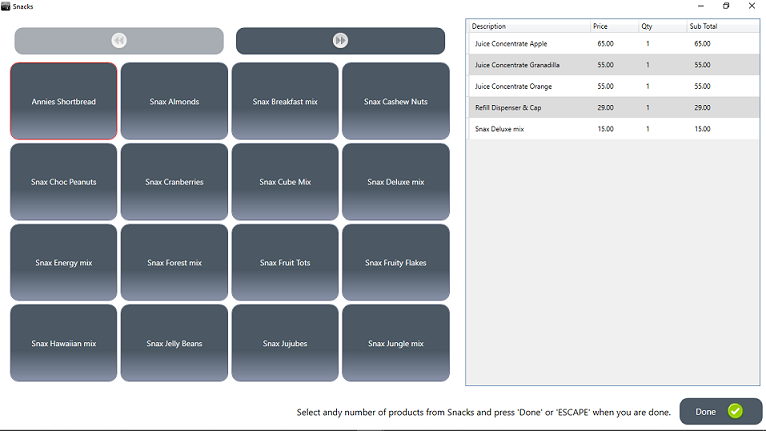
The cashier will be able to add multiple items from the category to the sale. Once all the required items has been added, the cashier can click on the 'Done' button.